Step-by-Step Guide to Building a Custom Table Using Poplar Lumber
Materials Needed:
Step 1: Design the Table
Determine the dimensions of the table you want to build.
Create a detailed sketch or plan for your table design, including the size of the tabletop, legs, and any additional features.
Step 2: Prepare the Lumber
Measure and cut the poplar lumber to the required lengths according to your design using a saw.
Sand the edges and surfaces of the cut lumber to make them smooth.
Step 3: Assemble the Tabletop
Lay out the poplar boards for the tabletop on a flat surface to ensure they fit together correctly.
Apply wood glue along the edges of the boards and press them together.
Clamp the boards together and let the glue dry according to the manufacturer's instructions.
Once the glue is dry, sand the tabletop to create a smooth surface.
Step 4: Construct the Table Base
Cut the poplar lumber to create the legs and support structures for the table base.
Assemble the legs and supports using wood glue and screws.
Attach the tabletop to the base using screws from underneath.
Step 5: Finish the Table
Sand the entire table to remove any rough edges or surfaces.
Apply a wood finish of your choice to protect the poplar lumber and enhance its appearance.
Allow the finish to dry completely before using the table.
Step 6: Enjoy Your Custom Table
Place your newly built poplar table in your desired location.
Admire your craftsmanship and enjoy using your custom-made piece of furniture.
Follow these step-by-step instructions to build your custom table using poplar lumber for a unique and personalized addition to your space. If you have any questions or need further assistance, feel free to reach out to us at R J Dougherty Remodelling LLC.
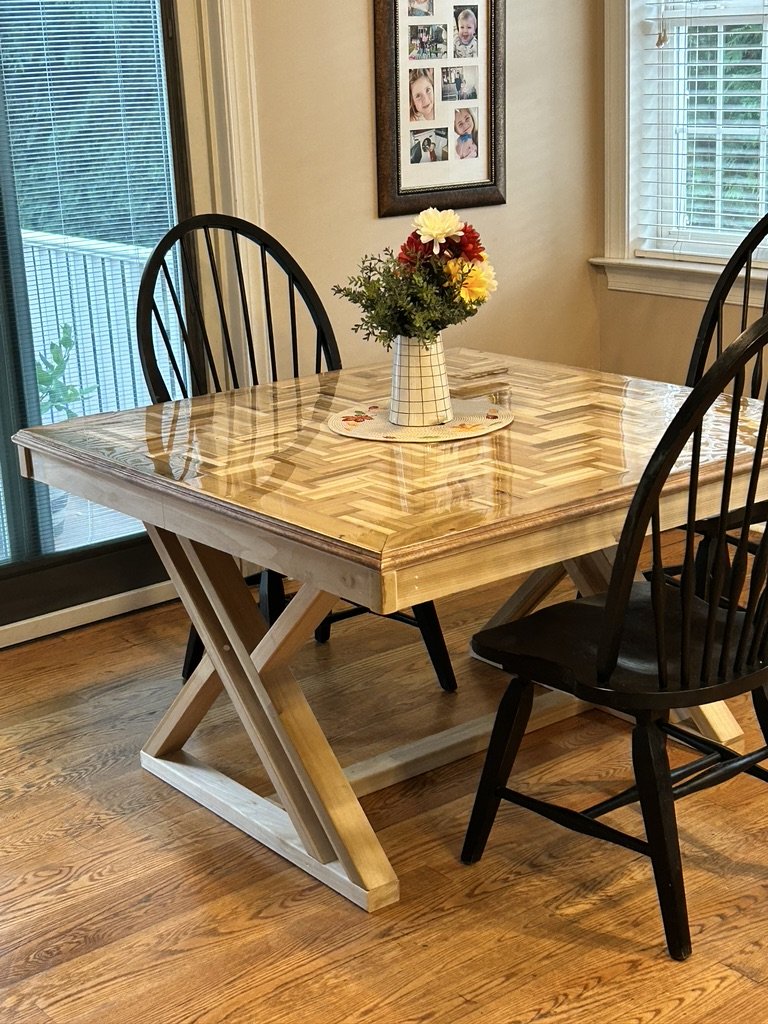 Image 1 of 10
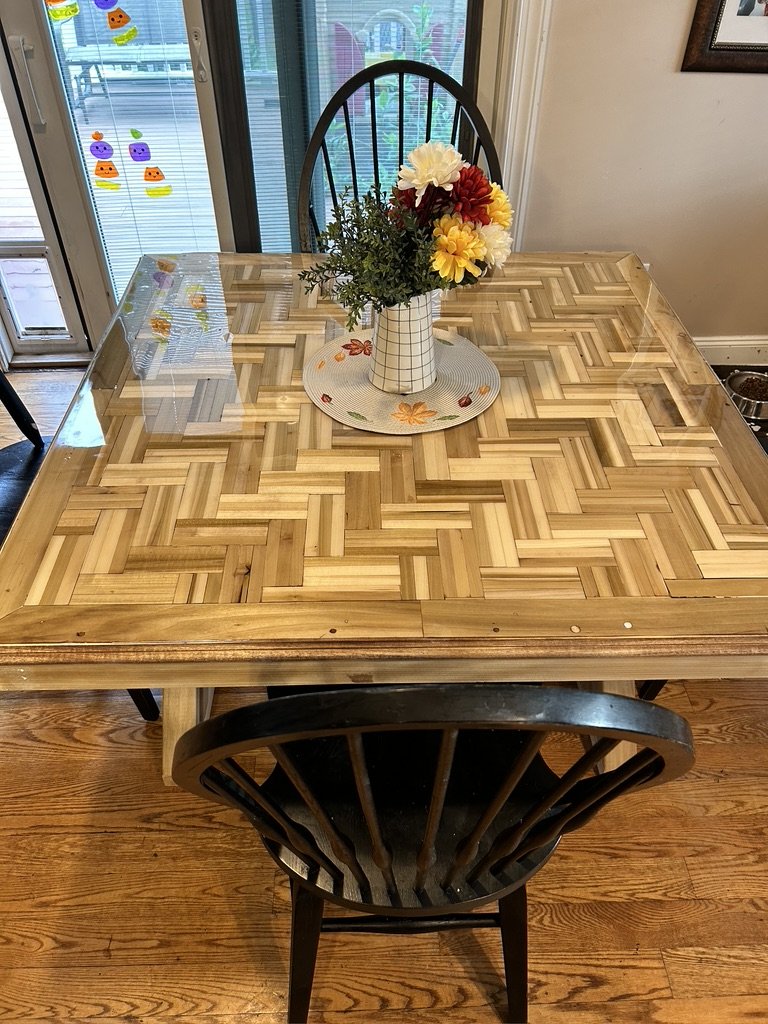 Image 2 of 10
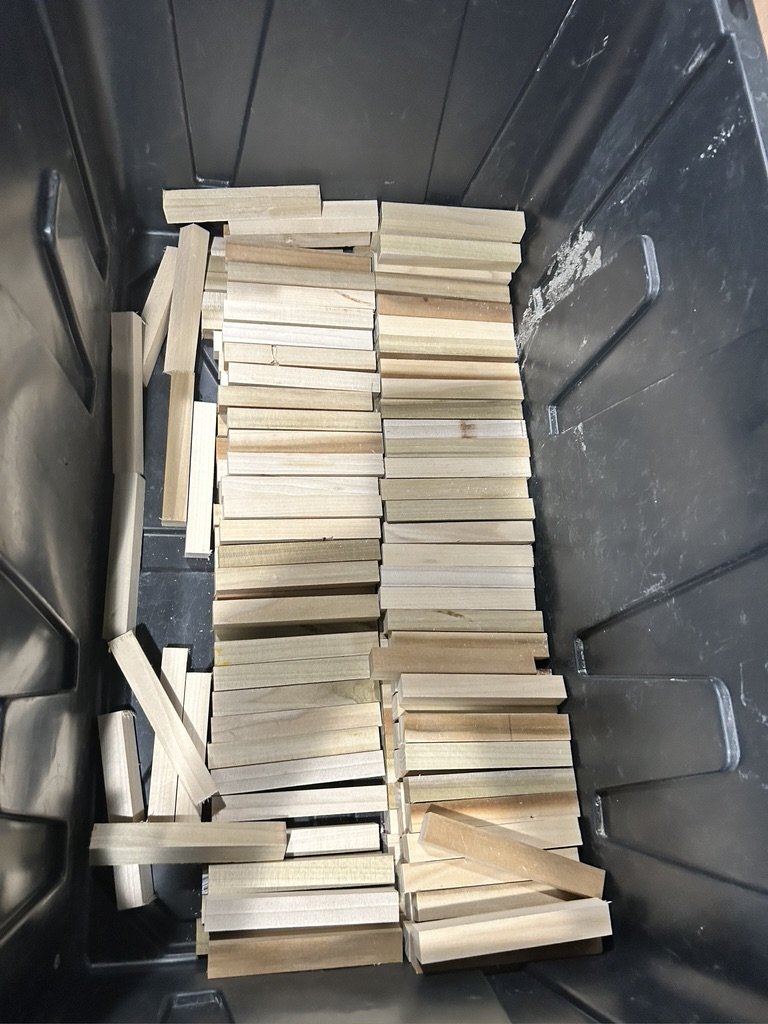 Image 3 of 10
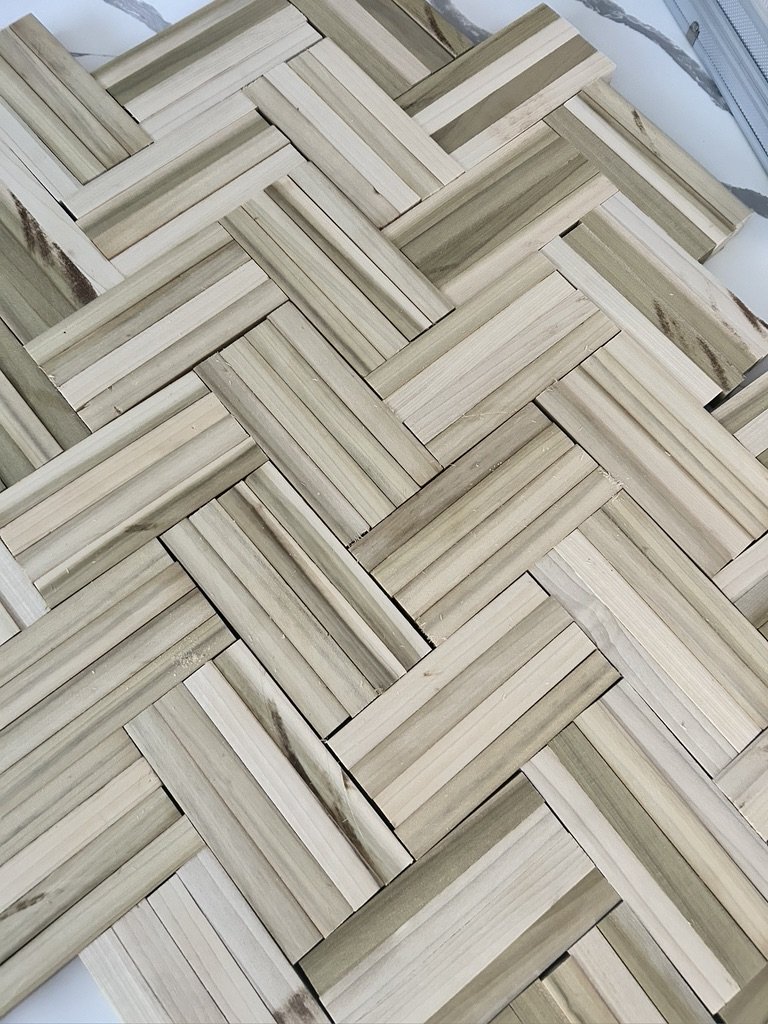 Image 4 of 10
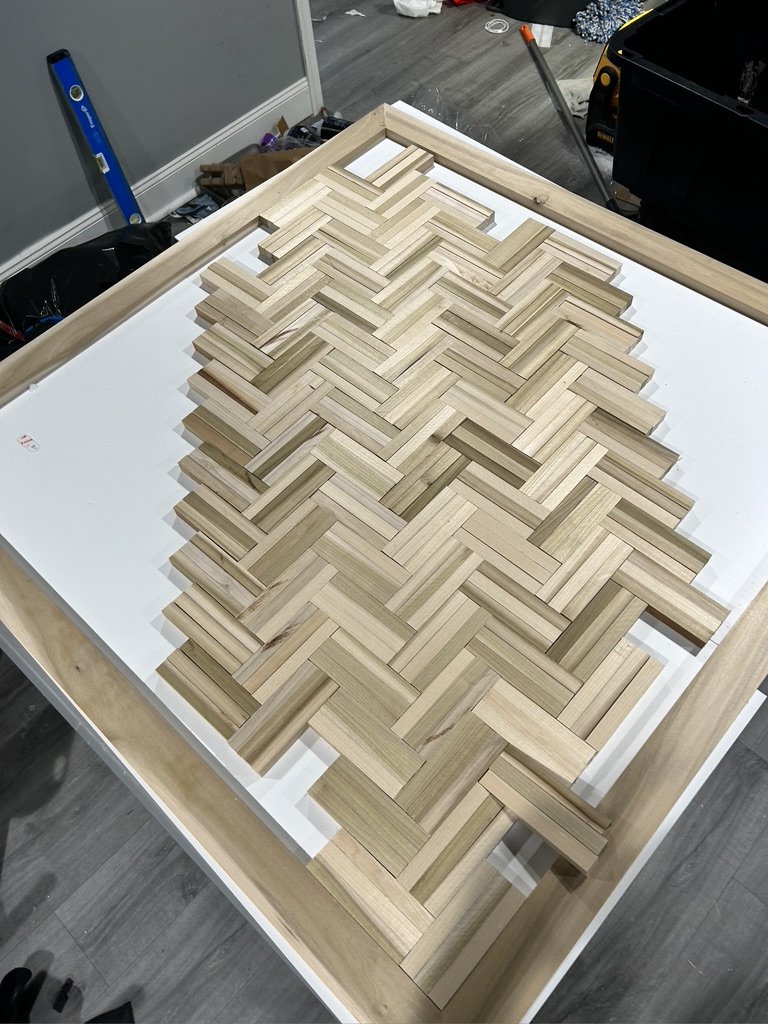 Image 5 of 10
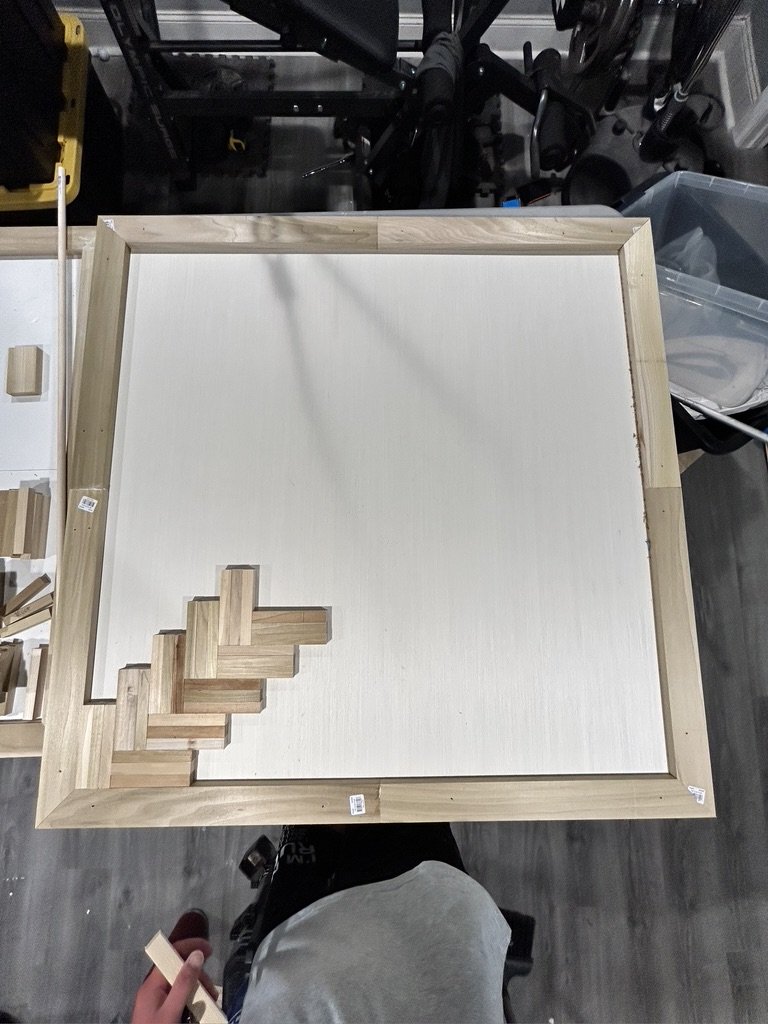 Image 6 of 10
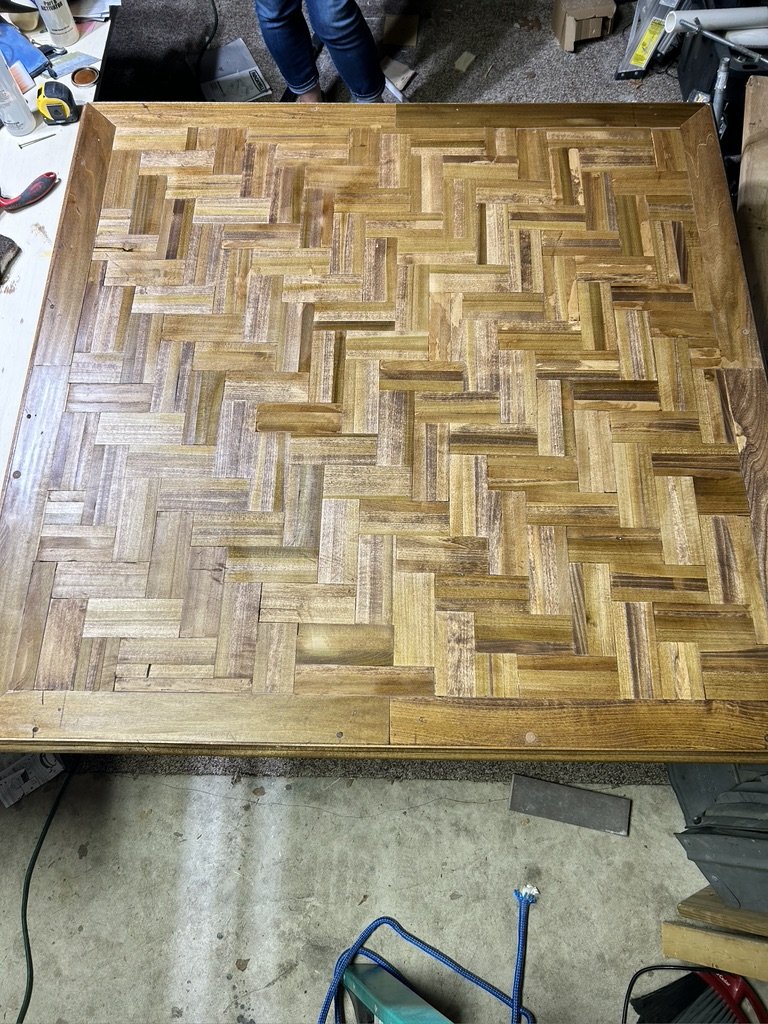 Image 7 of 10
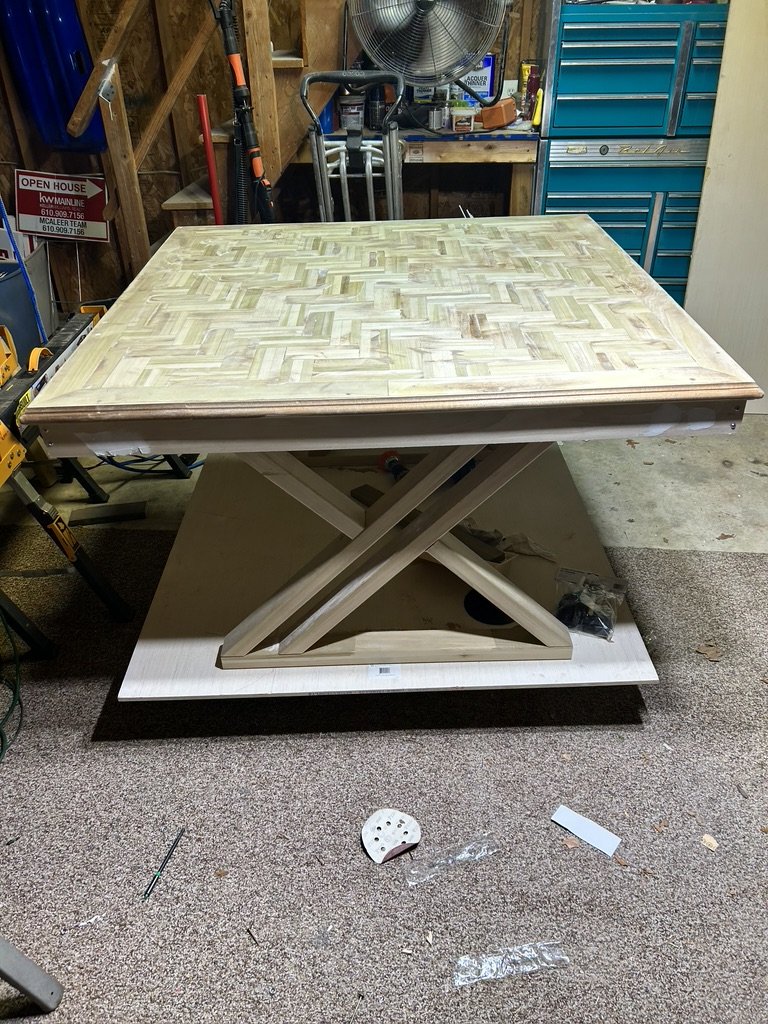 Image 8 of 10
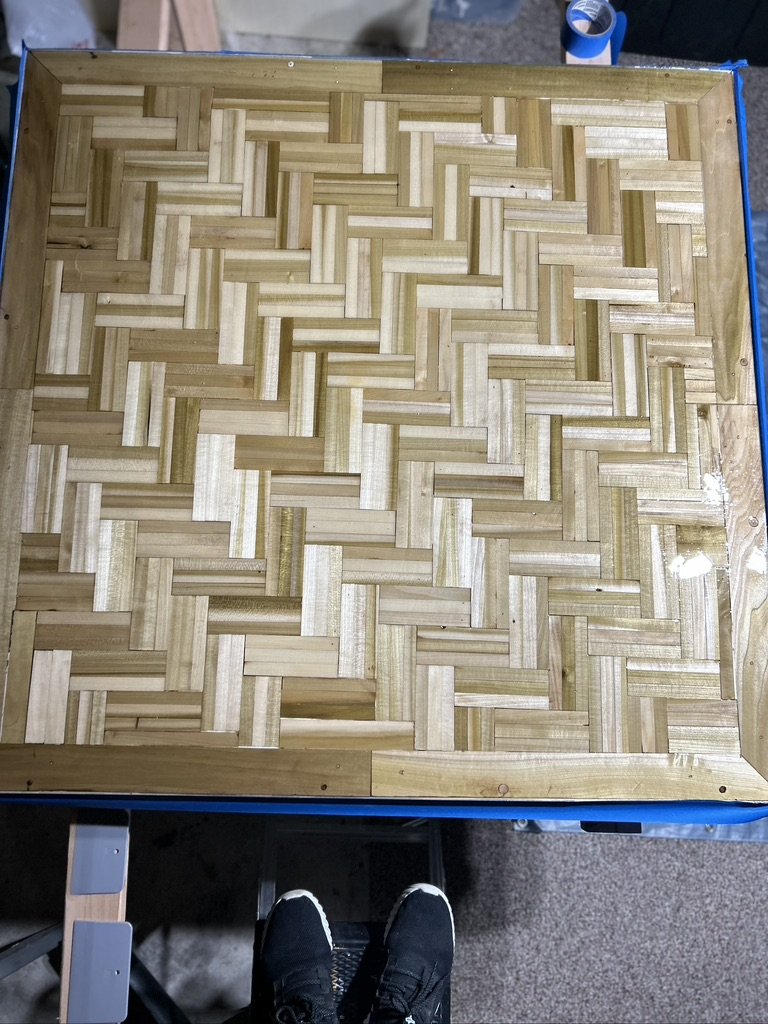 Image 9 of 10
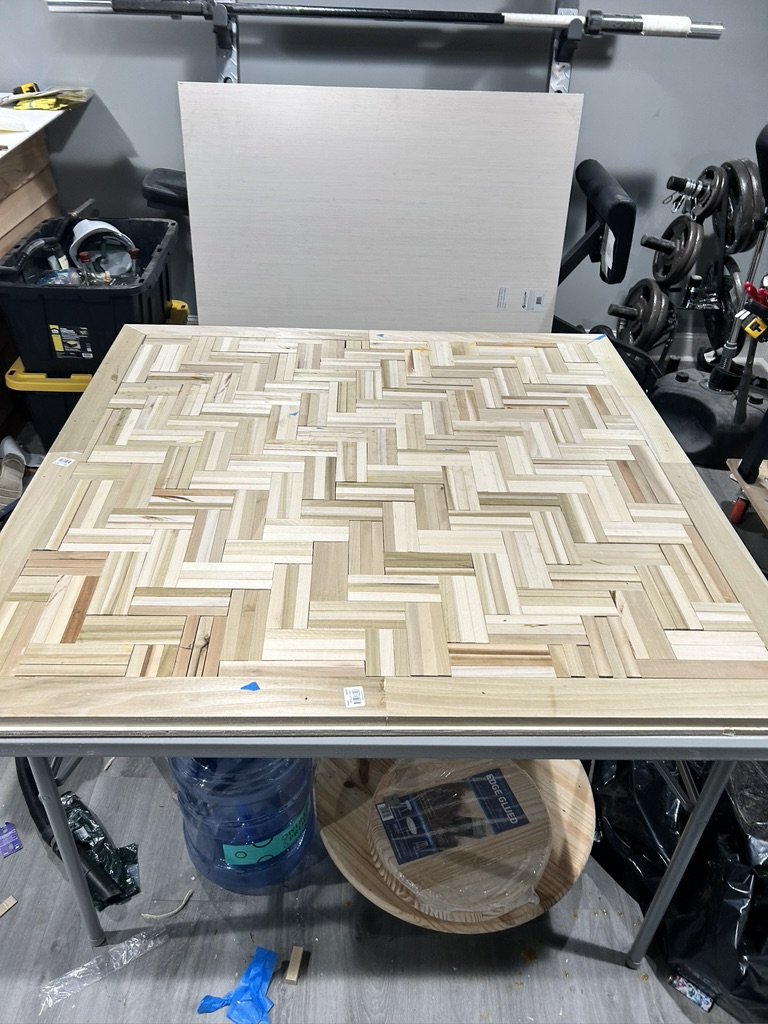 Image 10 of 10